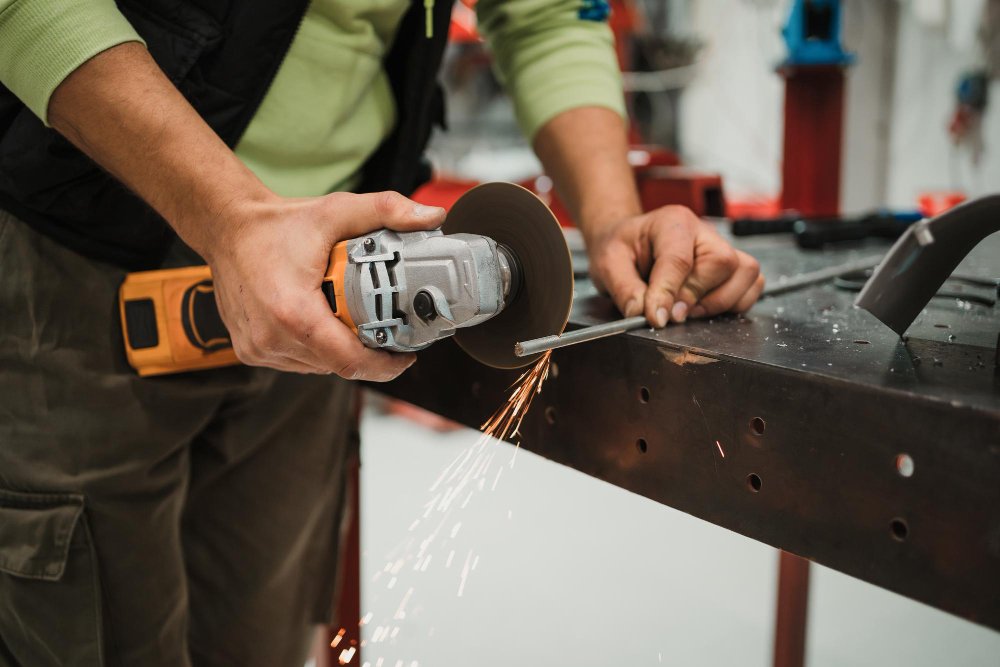
Image by ArthurHidden on Freepik
How do you make fine, clean cuts without damaging the surfaces around it?
While trimming door casings and cutting drywall in tight corners, using an inadequate tool can make a simple job frustrating. Jigsaws are big and bulky; hand saws are inaccurate, whereas rotatory tools can cut too far. Therefore, you need a tool that offers precision, control and versatility.
This is where an oscillating tool becomes vital, not just another gadget. It is a game changer for accuracy and finesse. With the perfect blade and technique, you can easily make a cut on wood, metal, or plastic, just like a pro, even in the most awkward spaces.
However, owning one is not just enough. You need to know about the basics and how to handle them for the best efficiency.
Want to explore how you can effectively use an oscillating tool for precision cuts? Read the full article.
Pair With Fine-Tooth Blades

When working with softwoods, plastics, or laminated surfaces, fine-tooth blades are the utmost for accuracy. Its teeth are spaced closely, thereby reducing splintering and producing nice, clean edges.
They come in handy for making delicate cuts, such as trimming a veneer or cutting alongside a visible edge.
By keeping your oscillating tool attached to a fine-tooth accessory, you will be able to make tight and detailed cuts without tearing into the material. For best results, do not force the toll and work slowly; let the blade do the cutting.
The key to remember here is to always buy your oscillating tool, blades or accessories from a trusted and professional source only.
Such is essential because purchases made from a reliable source ensure that they have gone through quality controls, resulting in fewer do-overs, better finishes, and improved performance.
Ensure a Secure Blade Mount with the Right Arbor
A secure blade mounting is required to ensure clean and accurate cutting.
An appropriate arbor grips the blade firmly in position, keeping it free from vibration and slippage.
Due to this stability, the blade, therefore, follows the guided cut-line, enhancing control, reducing errors, and allowing smooth and safe operation of the tool.
Mark Your Cut Line Clearly Before You Start
Precision starts with proper planning. Mark your cut line with a pencil, marker, or painter’s tape before turning on the tool.
For straight cuts, use a ruler or straightedge as a guide. For plunge or corner cuts, define both entry and exit points. A clear visual guide helps you maintain steady control and prevents errors. Without this step, it’s easy to veer off track, especially in tight areas or low light.
Don’t rush the prep; taking a few seconds to mark accurately will save time and frustration later when aiming for a clean, professional finish.
Use Variable Speed for Better Control
Most oscillating tools offer variable speed settings. Lower speeds are ideal for softer materials, while higher speeds cut through harder ones like metal or dense hardwood.
Slower speeds also help maintain control when working on detailed or fragile surfaces. Adjust the speed based on your material and task; going too fast can burn the surface or cause the blade to skip.
Doing a quick test cut on scrap material allows you to fine-tune the speed.
Learning to match the speed to the job gives you cleaner cuts, smoother operation, and better overall results without unnecessary strain.
Keep the Workpiece Steady and Supported
Holding the material firmly in place is key to making precise cuts. Use clamps or a vice to prevent any shifting while you work.
If you’re cutting a door jamb or baseboard still attached to a wall, brace the tool against a solid edge to reduce movement.
Unstable materials lead to uneven cuts, blade deflection, and higher chances of mistakes.
A firm setup not only helps with control but also reduces hand fatigue by allowing the tool to do the work. Take a moment to secure everything; it’s an easy step that makes a big difference in accuracy.
Maintain a Light Touch
Applying too much pressure is one of the most common mistakes when using an oscillating tool.
Use a gentle, steady grip and guide the blade slowly along the cut line.
A light touch gives you more control, reduces tool bounce, and results in cleaner, smoother finishes.
Use both hands for better balance. With proper technique, you’ll get smoother, more accurate results and reduce the chance of slips or tool bounce, which are common when pushing too hard.
Finish Off with Sanding or Filing if Needed

Even with the best technique, some cuts may need a final touch.
Light sanding helps clean up rough edges or minor splintering. For small areas or corners, use a sanding attachment on your oscillating tool or a simple hand file.
This step gives your project a polished, professional look. It’s especially useful when cutting visible surfaces like trim, flooring, or cabinetry.
Don’t skip the cleanup. Precision isn’t just about the cut itself but also about the finish. Spending a few extra minutes on detail work ensures your final result looks sharp and ready for use.
Bottomline
An oscillating tool is more than just a power tool. It’s a precision cutter that fits where others can’t.
Whether you’re trimming in tight corners or working along delicate edges, its compact design, paired with the right blade and technique, delivers results that stand out.
But precision doesn’t come from the tool alone. It comes from how you use it, marking lines, controlling speed, securing your workpiece, and keeping a steady hand.
With a bit of practice and patience, even detailed cuts become easier, cleaner, and far more professional.
Master the tool, and you’ll master the craft.
